Tutorial: OVH Cloud - Create a proxy image
Step 1: Connect to your new project
Go to OVH dashboard and select your new project.
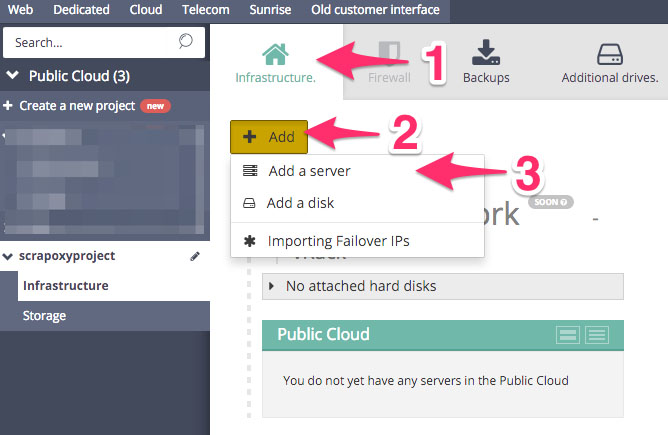
Step 2: Create a new server
Click on Infrastructure
Click on Add
Click on Add a server
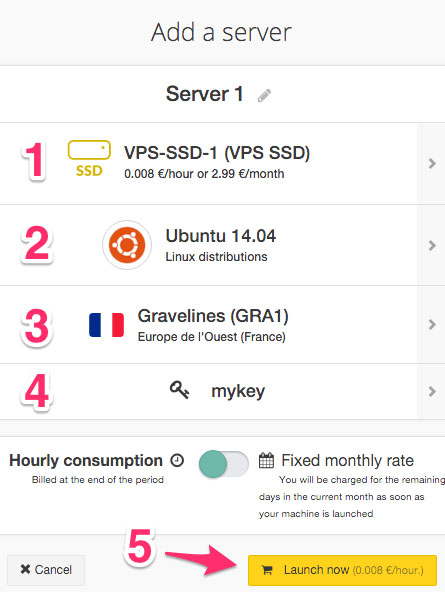
Step 3: Change the configuration of server
Change the type of server to VPS-SSD-1 (cheapest)
Change the distribution to Ubuntu
Change region to GRA1 (or another if you want)
Change the SSH key to mykey
Click on Launch now
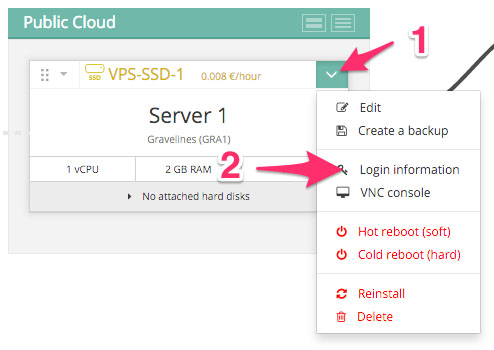
Step 4: Get login information
When the instance is ready:
Click on the v on the top right corner
Click on Login information
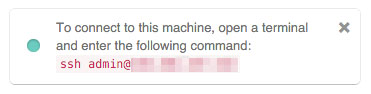
Step 5: Connect to the instance
Remember the SSH command.
Step 6: Install the proxy
Connect to the instance and install proxy:
sudo apt-get install curl
and:
curl --silent --location https://deb.nodesource.com/setup_8.x | sudo bash -
and:
sudo apt-get install --yes nodejs
and:
curl --silent --location https://raw.githubusercontent.com/fabienvauchelles/scrapoxy/master/tools/install/proxy.js | sudo tee /root/proxy.js > /dev/null
and:
curl --silent --location https://raw.githubusercontent.com/fabienvauchelles/scrapoxy/master/tools/install/proxyup.sh | sudo tee /etc/init.d/proxyup.sh > /dev/null
and:
sudo chmod a+x /etc/init.d/proxyup.sh
and:
sudo update-rc.d proxyup.sh defaults
and:
sudo /etc/init.d/proxyup.sh start
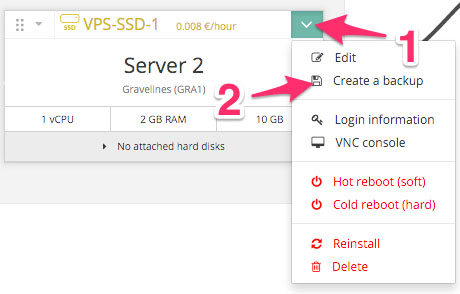
Step 7: Create a backup
Go back on the OVH project dashboard:
Click on the v on the top right corner
Click on Create a backup
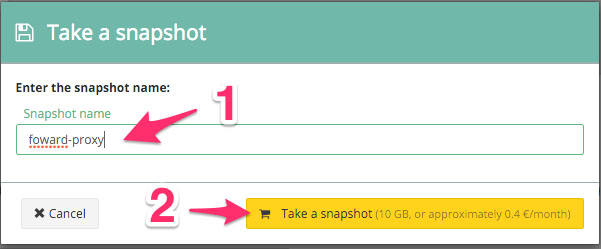
Step 8: Start the backup
Enter the snapshot name forward-proxy
Click on Take a snapshot
You need to wait 10 minutes to 1 hour.